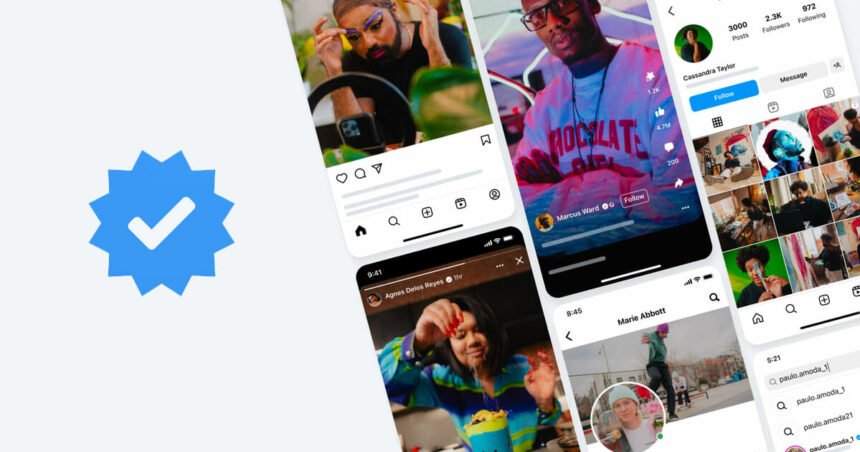
Meta Verified is a subscription-based bundle that helps creators in “establishing and growing [their] presence on Instagram and Facebook.” This paid subscription feature requires submitting identification documents (government-issued IDs) and meeting specific criteria set by the platform before being approved for a Meta Verified subscription.
Once verified, a blue checkmark will appear next to your account name, indicating authenticity and credibility. Meta verification provides access to additional features such as insights, analytics, and the ability to promote posts, which can help boost engagement and visibility for your account.
According to Meta, account support is currently only available in Arabic, English, French, German, Hindi, Indonesian, Japanese, Portuguese, Spanish, and Turkish, but other languages will soon be added.
Here are the top features offered by Meta Verified:
- Verification Badge: Confirms you’re the real you and that your account has been validated with a government ID.
- Impersonation Monitoring: Protects your account against impersonation with proactive account monitoring and secures your account with required two-factor authentication.
- Live Chat Customer Support: provides access to real-time customer support.
- Exclusive Features: Get exclusive stickers on Stories and Reels across Facebook and Instagram.
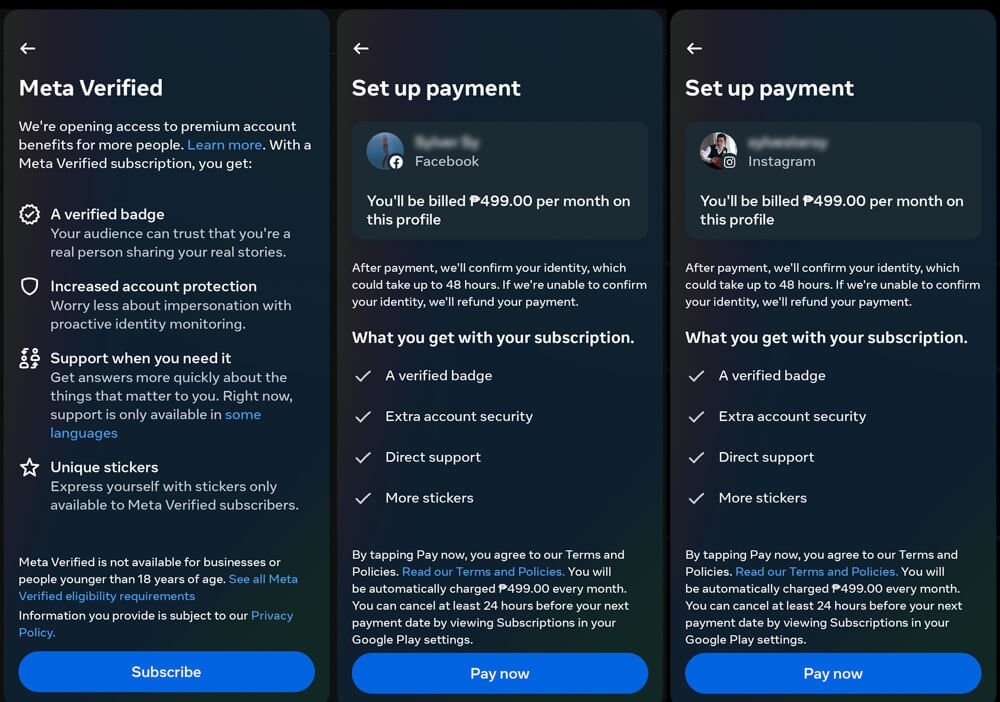
As of this writing, Meta Verified is already available here in the Philippines to individuals who meet the requirements on both Instagram and Facebook. Meta Verified is currently priced at Php 499 a month here in the Philippines.
How to Get Meta Verified
To start with the verification process with Meta Verified, which is extending its reach worldwide to individuals aged 18 years or above.
- Go to Settings on Instagram or Facebook.
- Tap Accounts Center, then tap Meta Verified.
- If your account is eligible for Meta Verified, it will say Meta Verified available. Tap the relevant account name, review the list of benefits, then tap Subscribe.
- Set up or confirm your payment method and tap Pay now.
- You will need to complete the verification process and upload a photo of your ID. Your ID must match the profile name and photo on the Instagram or Facebook account.
If you still don’t have the option to be Meta Verified, you will need to join their waiting list on Instagram or Facebook. Meta will notify you when Meta Verified is available in your region and if you are eligible.
If you want to verify accounts on both Instagram and Facebook, although it’s called “Meta Verified,” you still have to apply and pay separately on both platforms.